Developing a Deck
I’ve been working on a new deck based on 1980s New Wave music. Tentatively titled I Confess: The New Wave Oracle, it is a digital collage deck that incorporates analog magazine pages that I have scanned and digitized, placing them alongside photographic elements. Here are the cards I’ve designed so far:
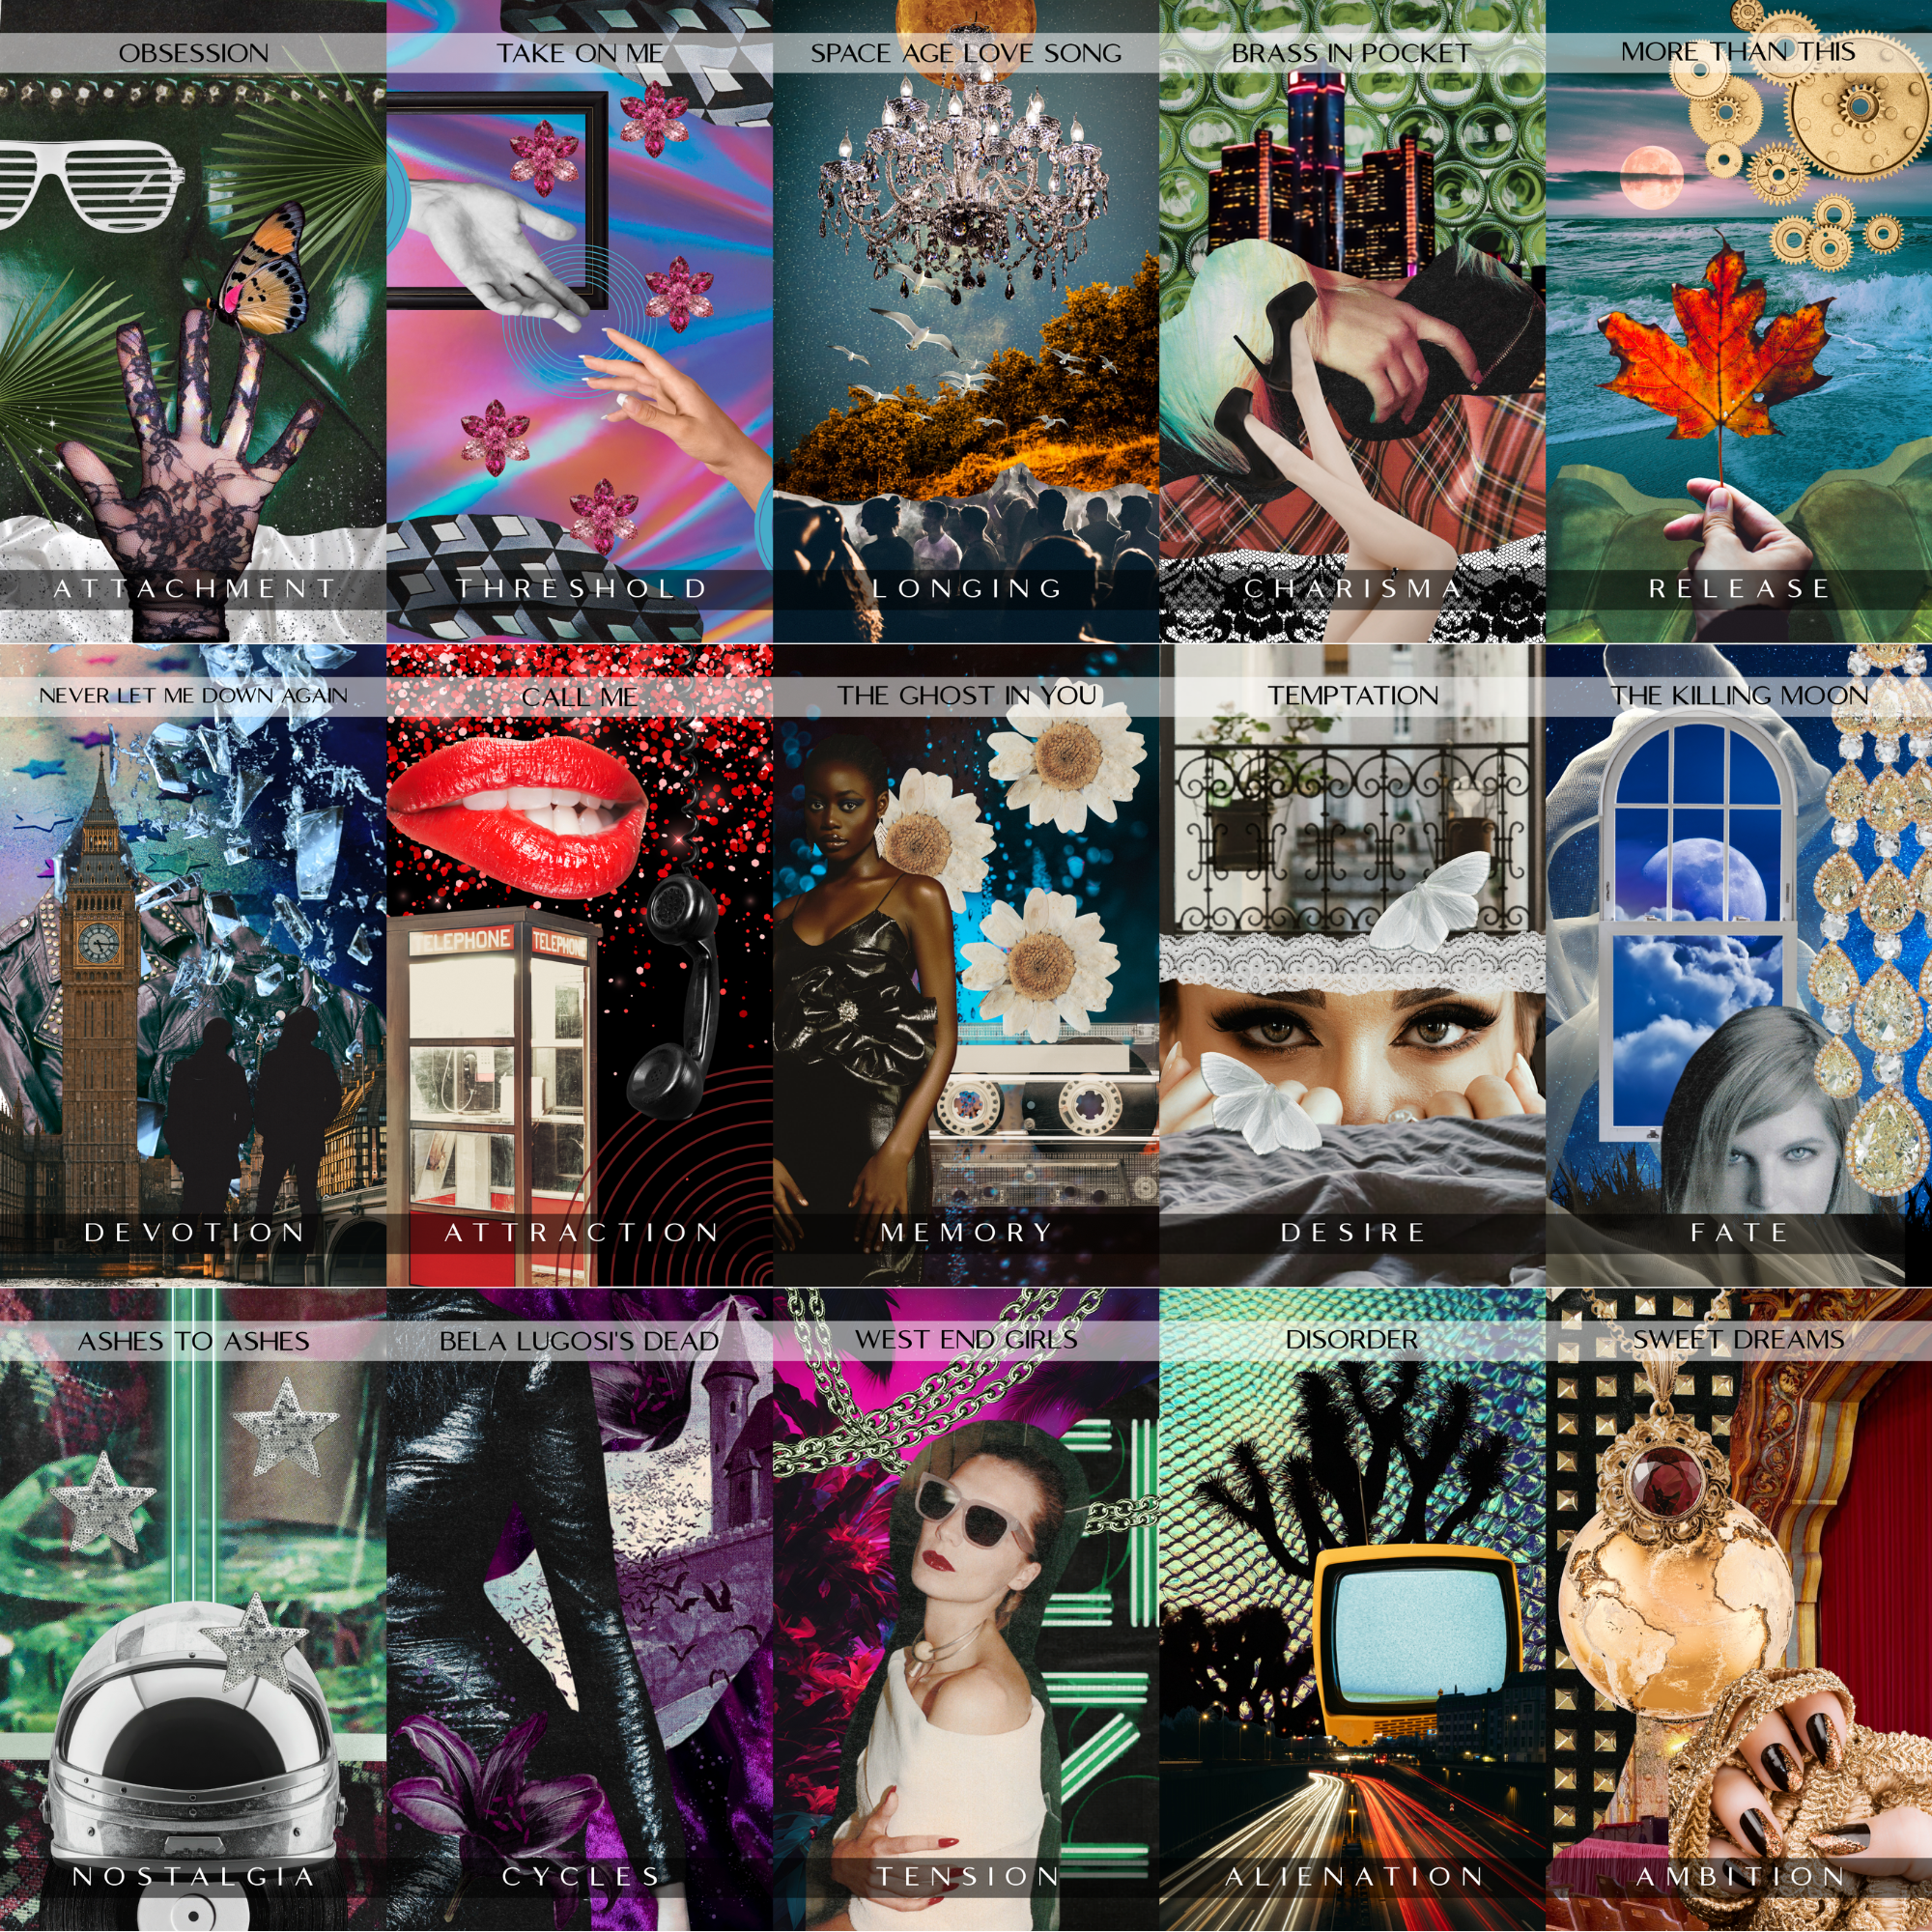
All the cards so far in the New Wave Oracle.
Each card you see here has also gone through many revisions in order to achieve the vision I have, both for the song it represents and for the deck as a whole. Here are just some of the transformations that have taken place and a bit about the process of developing a deck.
In developing the card design, the first cards I make are just kind of “mood board” style pieces that help me decide what kind of elements I want to use for the design and how they might fit together.
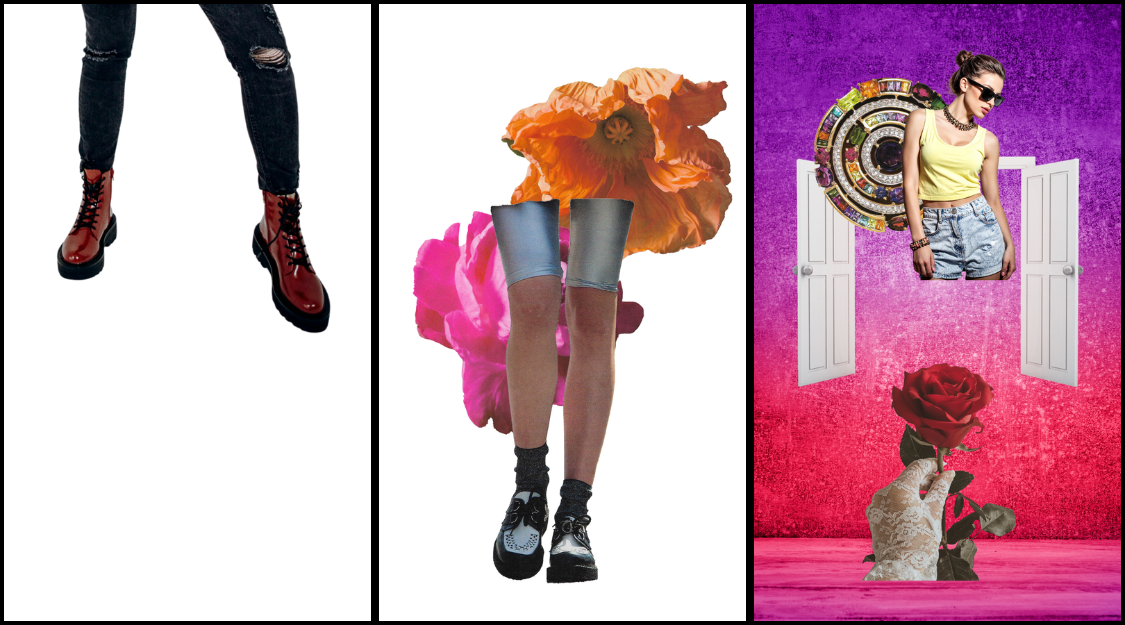
Playing around with design elements.
In this case, I was doing something new to me which is to scan magazine pages and then isolate elements in photoshop before combining them into a digital collage. The first step of playing around helps me work through the technical aspects of doing design an a new way.
Pretty quickly after figuring out the collage style I need to decide where to place the card keywords and any text I want on the card itself. Initially I just had the name of the song on each card, but soon realized that I would need to add keywords as well for the deck to function suitably as an oracle card deck. I decided to place them on a semi-opaque band at the bottom of the card. Then, as the artwork progressed, I decided to move the song title to a corresponding top bad for readability, instead of having them incorporated into the card graphic like this:
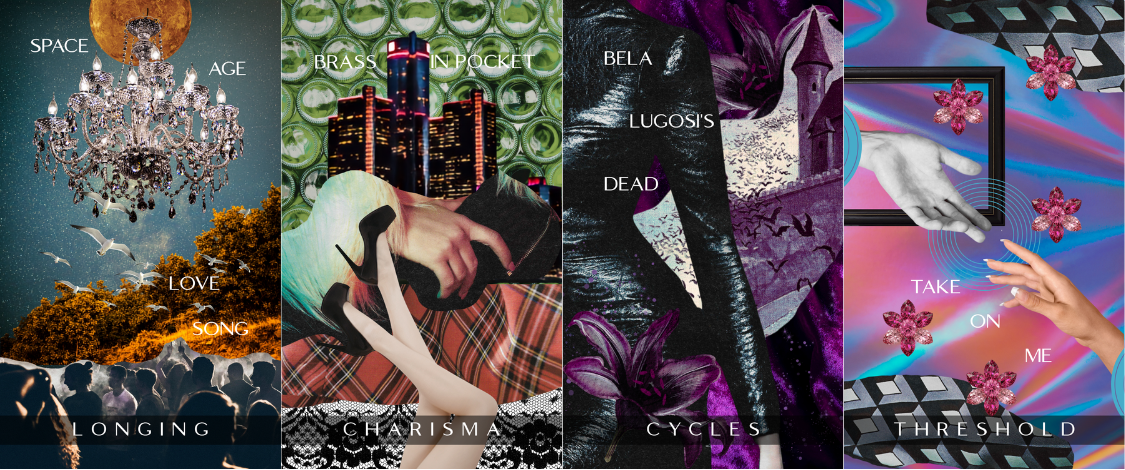
Song titles woven into the card design.
It looks cool, but I would have to compromise some of the collage art in order to make the song title legible and I did not want to do that. So as you can see in the final edits, the title moved to the top of the card.
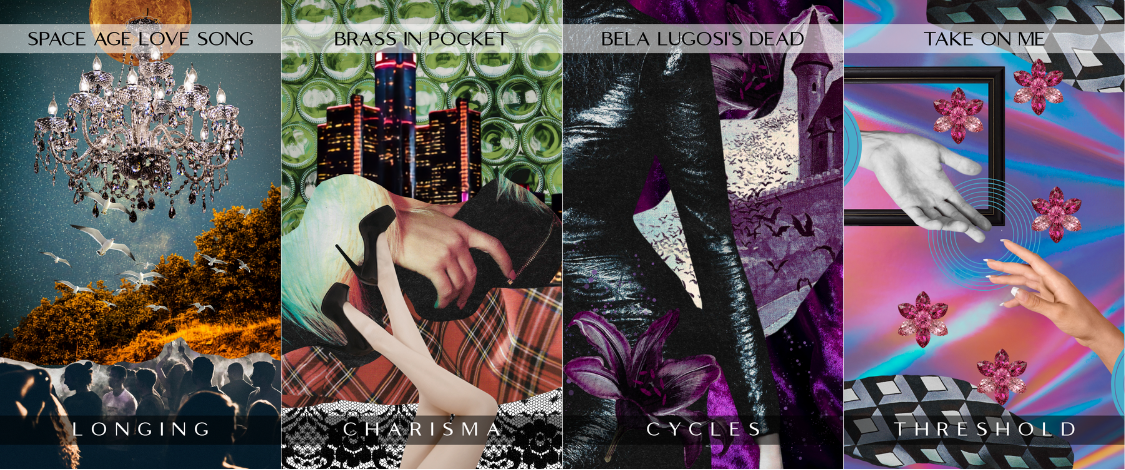
Song titles more clearly delineated at the top of the card.
Then comes the work of actually creating collage to correspond to each song I have selected for use in the deck. Each card goes through it’s own life cycle. Again, it is a process of trial and error with different elements and arrangements until I am satisfied. Some are a strong concept out the gate and come together with only minimal changes required:
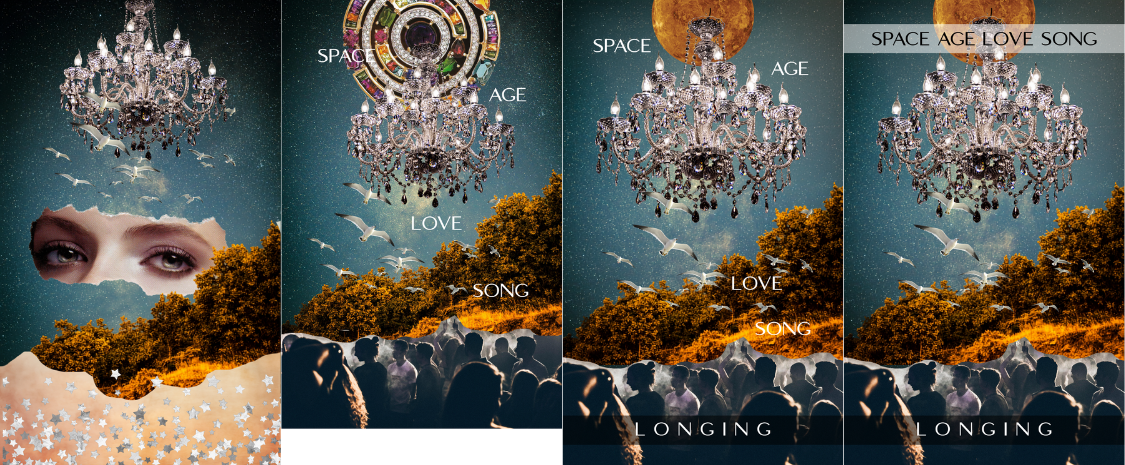
I was determined to keep the seagulls, night sky, and chandelier.
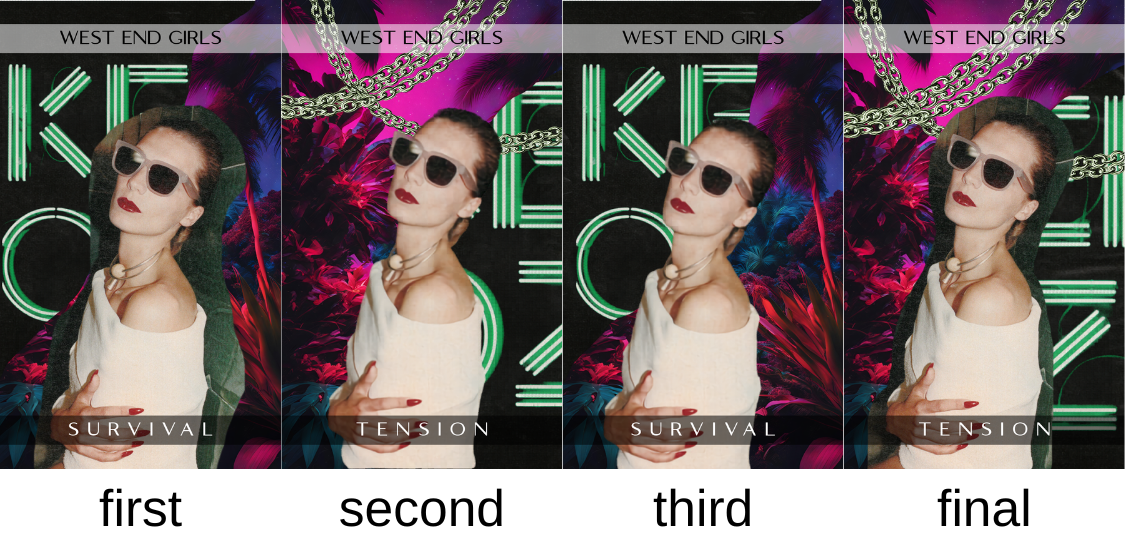
Survival, or tension? Pink on top, or on the bottom?
While others start with a concept or idea and then go through complete transformations in style:
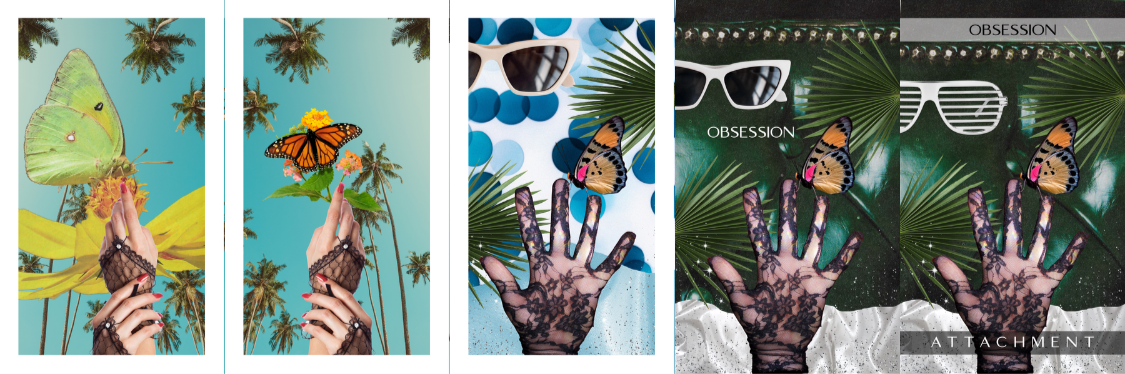
Hand and butterfly, yes. But which one?
There’s really no right or wrong when it comes to the small changes I make each time, so I just keep moving things around until I am satisfied with the design and it feels complete, or harmonious, to me. For example, the differences below are very subtle but the final card (bottom right) feels like a good balance of all the elements.
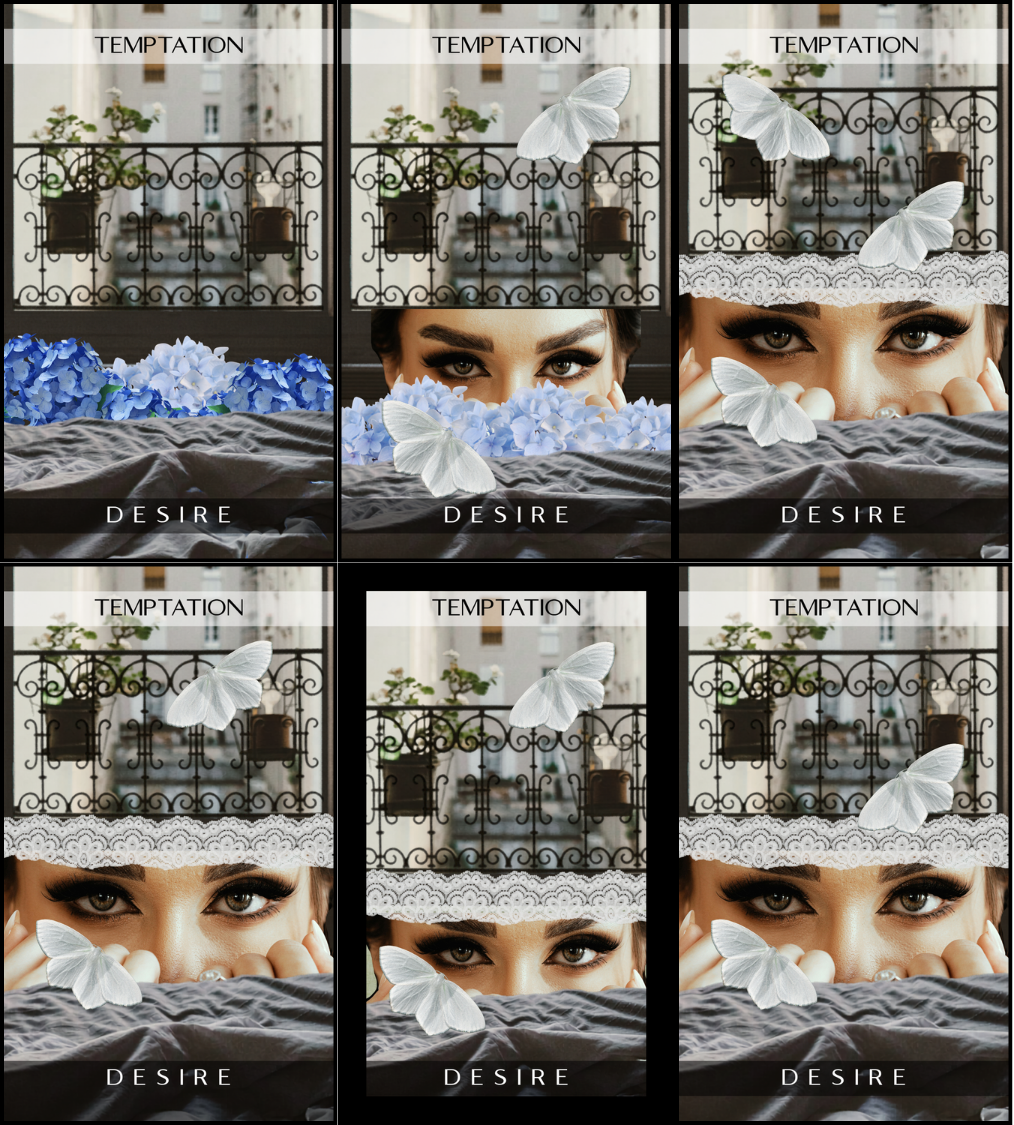
Temptation / Desire
Here, I could not decide on the right elements as they all seemed to work so at some point I just had to call it done and if it still feels unfinished later I’ll come back and edit some more.
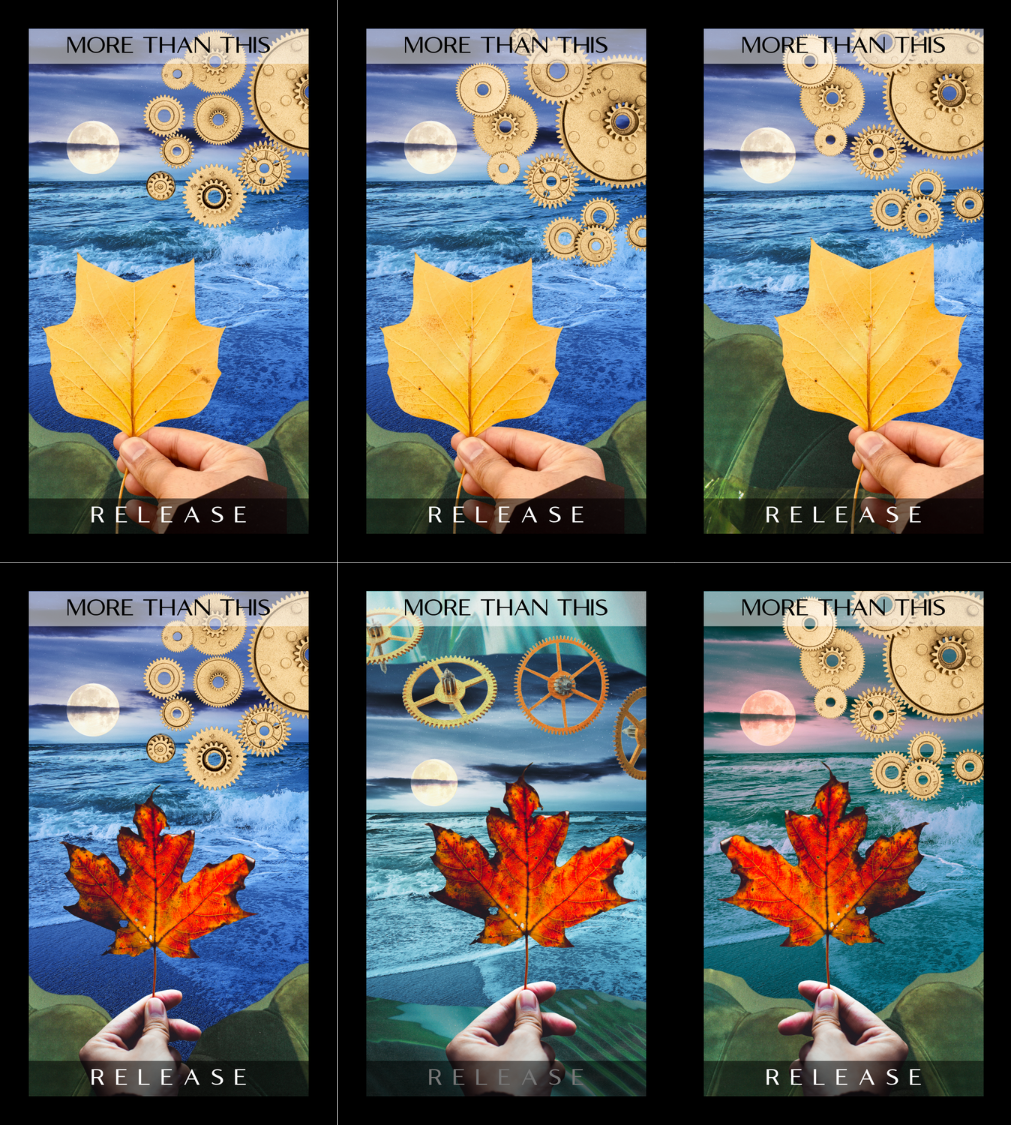
Release the idea that perfection exists!
Once the card design is complete, I also have to make sure it will look good in the final cropped version. When you submit card files to the printer, the artwork is what is called full bleed, meaning that it extends further than the actual printed area. this ensures that when the cards are cut the image extends to the edge with no white space, and also allows for some “drift” for movement of the image on the actual paper during printing. Not everything comes out perfectly centered on the page, although it is pretty close and to the naked eye generally impossible to see.
The printer (in my case The Game Crafter) provides a template, and I use that both to set borders when I am designing in Canva and to create a “test” frame that I put over the card to see what it will look like in its final cut form.
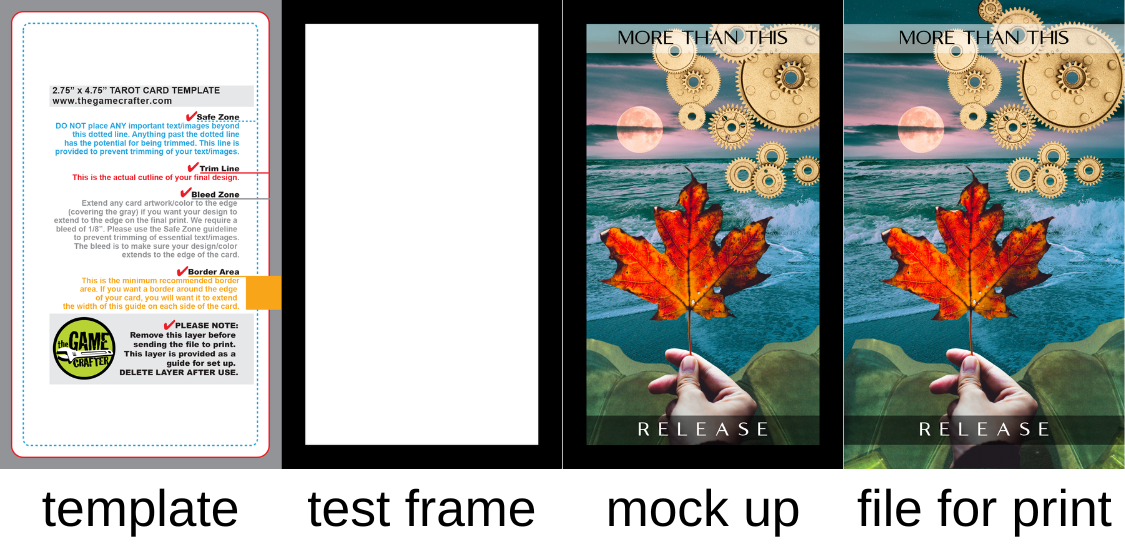
Making sure the full bleed process results in an appealing image.
After all the card art is created, the next steps for me are to design the card backs, design a box if I am including one, and to write the guidebook. Sometimes I include a printed guidebook and sometimes I just have a free PDF available for download. For this deck, I plan to have 36 cards, a printed guidebook, and a hook box, similar to my Count the Ways: A Poet’s Oracle. The card backs I’m pretty sure will be a retro harlequin pattern design:
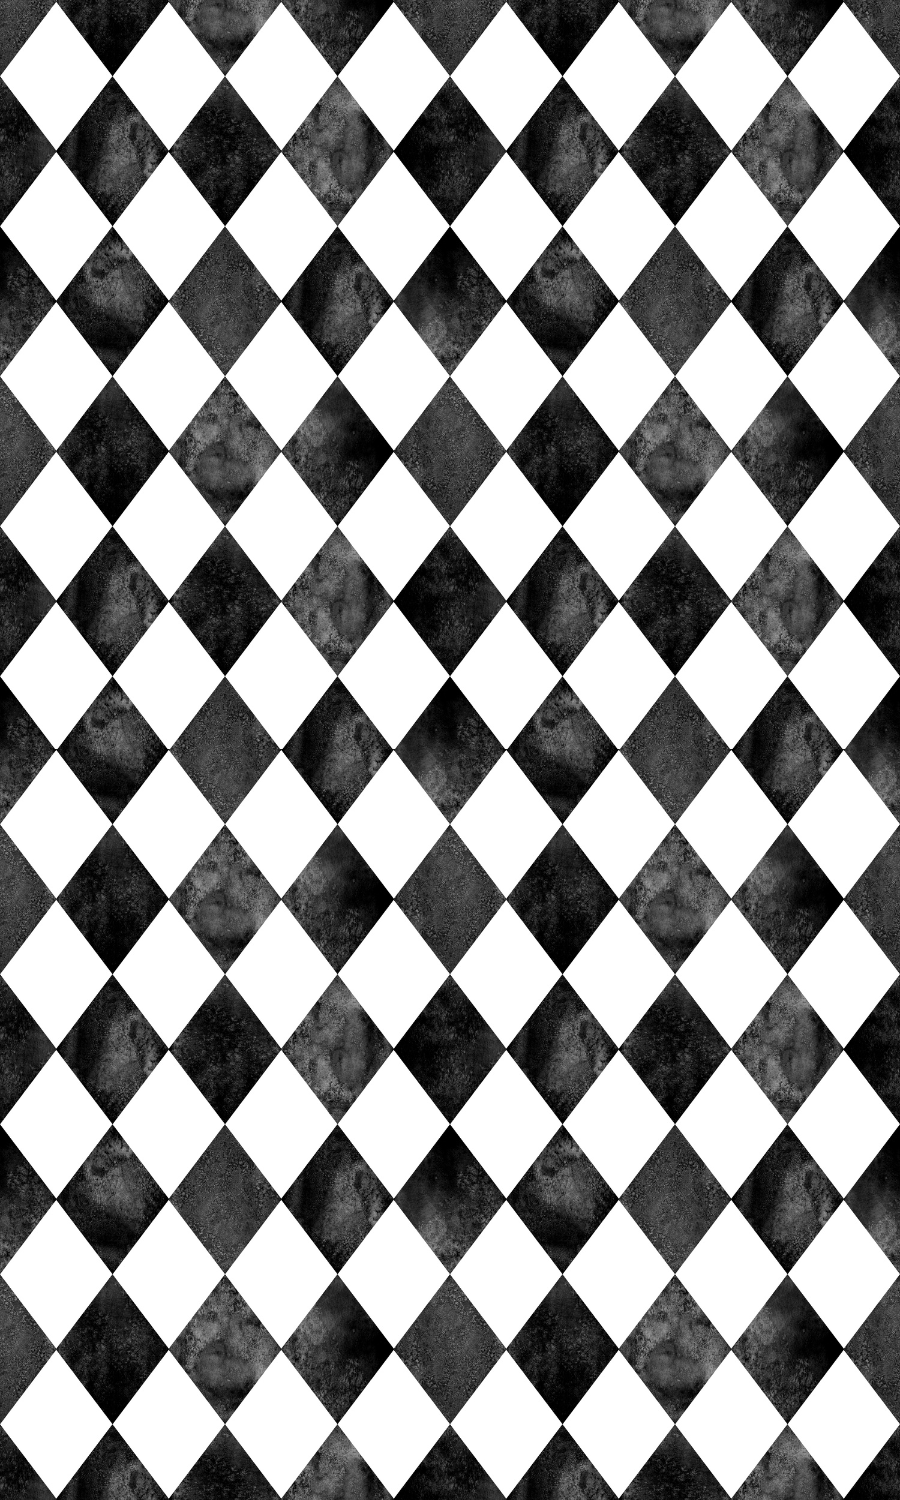
Card back design.
This was a fun article to put together. I hope it gives a glimpse into the behind the scenes steps to creating and developing a deck.